To install a suction pool cleaner, first gather your tools and make certain the pool pump is turned off. Attach the hose securely to the cleaner, then prime it by submerging the hose fully to remove air pockets. Connect the hose to the skimmer or dedicated suction line, and unroll it properly in the pool. Turn on the pump and check the cleaner’s movement. Adjust the hose length and position to ensure smooth operation and effective cleaning as you learn more.
Key Takeaways
- Turn off the pool pump, remove the skimmer basket, and connect the cleaner’s hose securely to the skimmer or dedicated suction port.
- Properly prime the hose by submerging it fully and removing air pockets before connecting.
- Attach the hose to the cleaner, ensuring tight fittings and checking for leaks; adjust length for optimal coverage.
- Lay the hose flat in the pool, shaping it around contours and keeping it free of kinks or knots.
- Turn on the pump, observe cleaner movement, and make adjustments to hose length or angle for smooth operation.
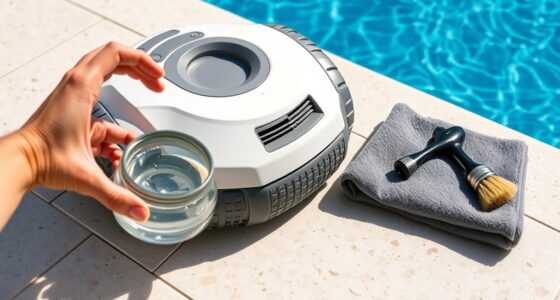
Gather Necessary Tools and Equipment
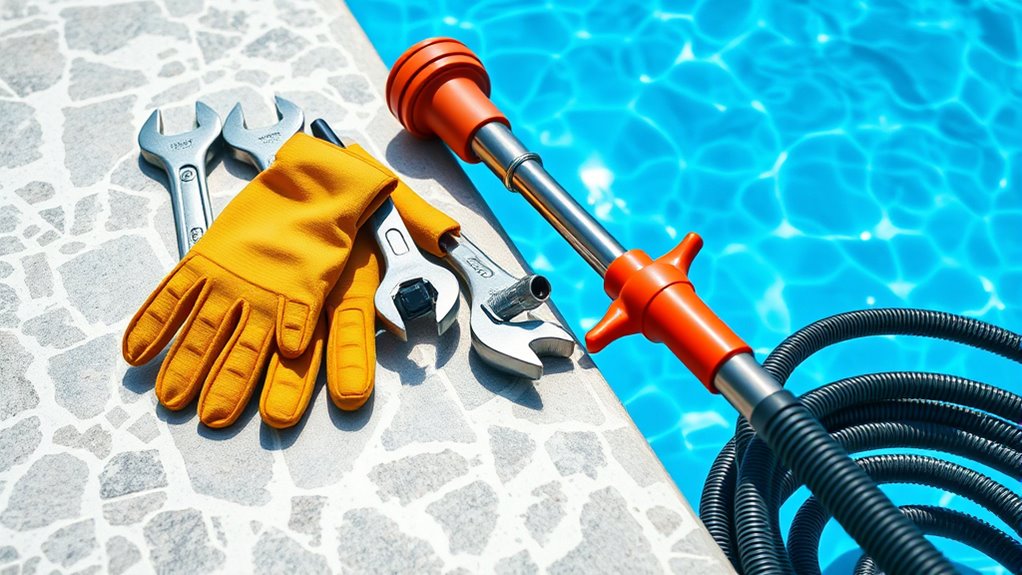
Before you begin installing your suction pool cleaner, make sure you have all the necessary tools and equipment on hand. Proper preparation guarantees smooth pool cleaning and helps you follow essential maintenance tips. You’ll need your suction pool cleaner, a telescoping pole, and a compatible hose. Grab a pair of scissors to trim the hose to the right length and a hose float or weight if needed. Having a screwdriver or wrench handy can be useful for securing connections. Check your pool’s manual for any specific tools required. Gathering everything beforehand prevents interruptions during installation and keeps your pool in top shape. Additionally, understanding the importance of proper setup and how it affects overall performance will ensure your cleaner operates efficiently. Using quality tools and equipment can also reduce the risk of damage and improve the longevity of your pool accessories. Ensuring the correct installation procedures are followed will help maximize the cleaner’s effectiveness. Being aware of system compatibility and ensuring your equipment matches your pool’s specifications can prevent potential issues during installation. For optimal results, it’s also helpful to familiarize yourself with the smart home automation features that can sometimes integrate with pool systems for enhanced control. With the right tools ready, you’ll be set to install your cleaner efficiently and keep your pool sparkling with minimal effort.
Turn Off and Prepare Your Pool Pump
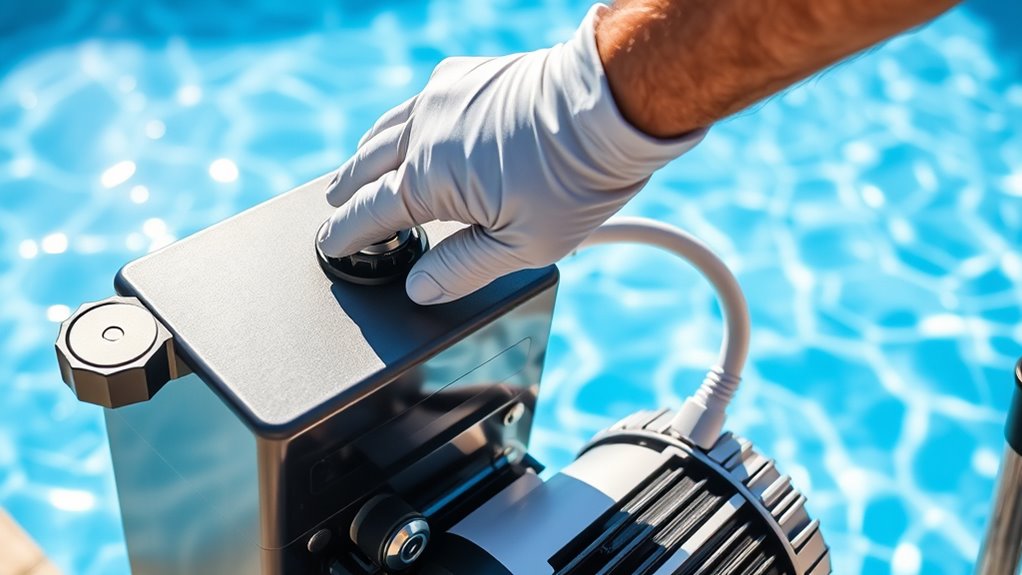
Turning off your pool pump is a crucial first step to guarantee safe and effective installation of your suction pool cleaner. Before proceeding, ensure your pool’s chemistry is balanced to prevent damage or malfunction. Take safety precautions by unplugging the pump and disconnecting it from power sources. This prevents accidental activation while working. Additionally, consider removing the skimmer basket to prevent debris from entering the pump system during installation. Proper maintenance of pool equipment helps maintain equipment efficiency and prolongs its lifespan. Moreover, verifying that your equipment setup aligns with manufacturer instructions can prevent operational issues later. Being aware of electric device safety guidelines can further reduce the risk of electrical hazards during installation. Ensuring that you follow waterpark safety standards can also help protect your equipment and yourself during maintenance procedures.
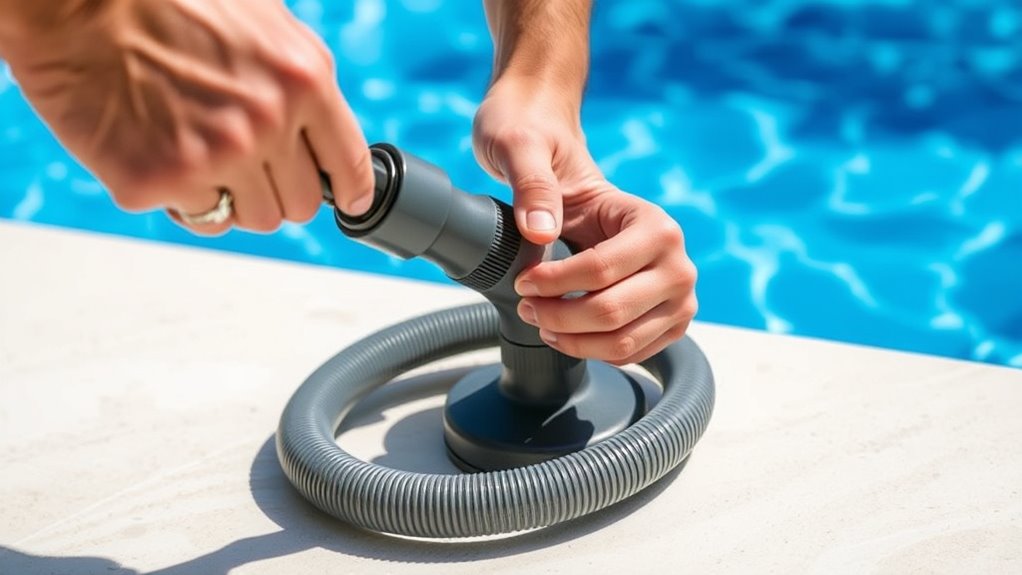
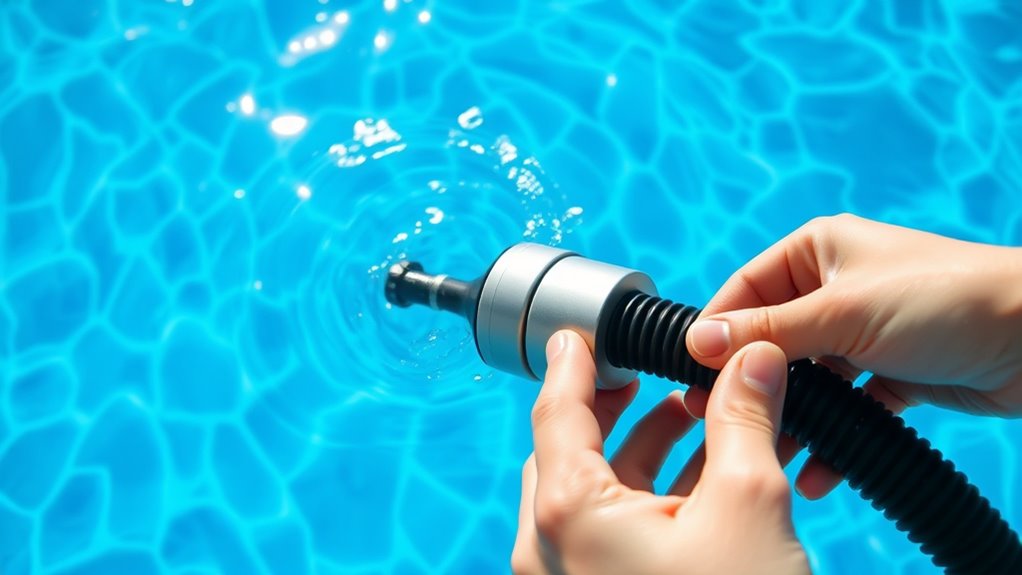
Attach the Hose to the Cleaner
Start by connecting the hose securely to the cleaner to prevent any disconnections during operation. Next, check for leaks along the hose and fittings, tightening as needed. Finally, adjust the hose tension so it’s neither too tight nor too loose for smooth movement. Ensuring the correct pressure relief can help maintain optimal performance during cleaning. Regularly inspecting the connections can also prevent unnecessary malfunctions and extend the lifespan of your cleaner. Additionally, verifying that the support system is functioning properly can contribute to more effective cleaning results. Incorporating suspension tuning principles can further optimize the cleaner’s movement and efficiency.
Connect Hose Securely
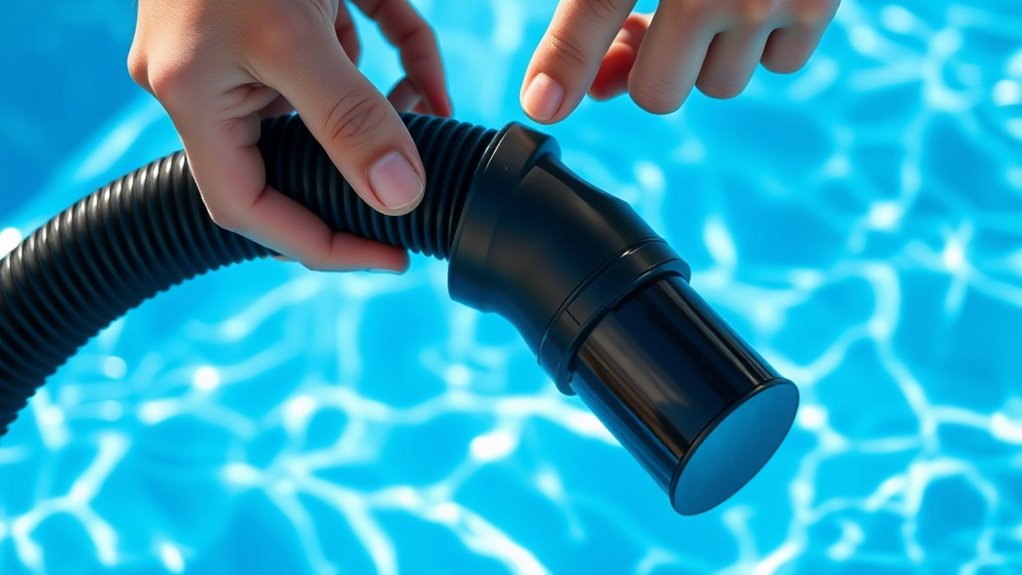
Have you verified the hose is the correct size and compatible with your cleaner? Ensuring the hose diameter matches your cleaner’s connection fittings is essential for a secure fit. A loose connection can cause leaks or disconnection during operation. To connect the hose securely:
- Confirm the connection fittings are properly aligned and fully inserted.
- Twist or lock fittings into place, ensuring they don’t wobble or slip off.
- Double-check that the hose is firmly attached at both the cleaner and skimmer or pump end.
- Remember that properly securing the hose prevents loss of suction and keeps your cleaner working efficiently.
- Using a reliable connection system can further ensure the hose stays attached during cleaning sessions. If you notice any looseness, reattach the fittings or consider replacing damaged parts. Properly securing the hose guarantees effective cleaning performance, and understanding the climate control benefits can remind us of the importance of secure connections in relationships too.
Check for Leaks
Wondering if your hose is securely attached? It’s vital to check for leaks before starting pool maintenance. Leaks can reduce the cleaner’s efficiency and cause water loss or damage. Turn on the pool’s pump and observe the hose connection points closely. Look for any signs of water escaping, such as drips or damp spots. If you notice leaks, tighten the connections or reattach the hose securely. Ensuring a tight fit not only improves cleaning performance but also maintains safety precautions by preventing accidental disconnections underwater. Regularly inspecting for leaks helps keep your pool in top condition and prolongs the life of your suction cleaner. Taking this step is a simple but essential part of responsible pool maintenance. Additionally, understanding pool equipment and proper installation techniques can further enhance your cleaning routine, especially when you incorporate digital literacy skills to troubleshoot and optimize your pool setup effectively.
Adjust for Tension
To guarantee your suction pool cleaner operates effectively, you need to adjust for tension by properly attaching the hose to the cleaner. Correct tension adjustment ensures the cleaner moves smoothly without getting stuck or missing spots, which is essential for proper cleaner calibration. Start by connecting the hose securely to the cleaner, then check the tension along its length. If the hose feels too tight or too loose, adjust the connection points to achieve balanced tension. Proper tension not only improves cleaning efficiency but also prolongs the lifespan of your equipment.
- Make certain the hose has no kinks or twists for maximum tension adjustment
- Test the cleaner’s movement and adjust the hose length if needed
- Confirm the hose floats freely without excess slack or tightness
Prime the Hose and Check for Leaks
Next, you’ll want to prime the hose to create a proper seal, which involves submerging it in water and removing excess air. As you do this, carefully inspect for any leaks or loose connections that could diminish suction. Address any issues immediately to ensure your pool cleaner operates efficiently.
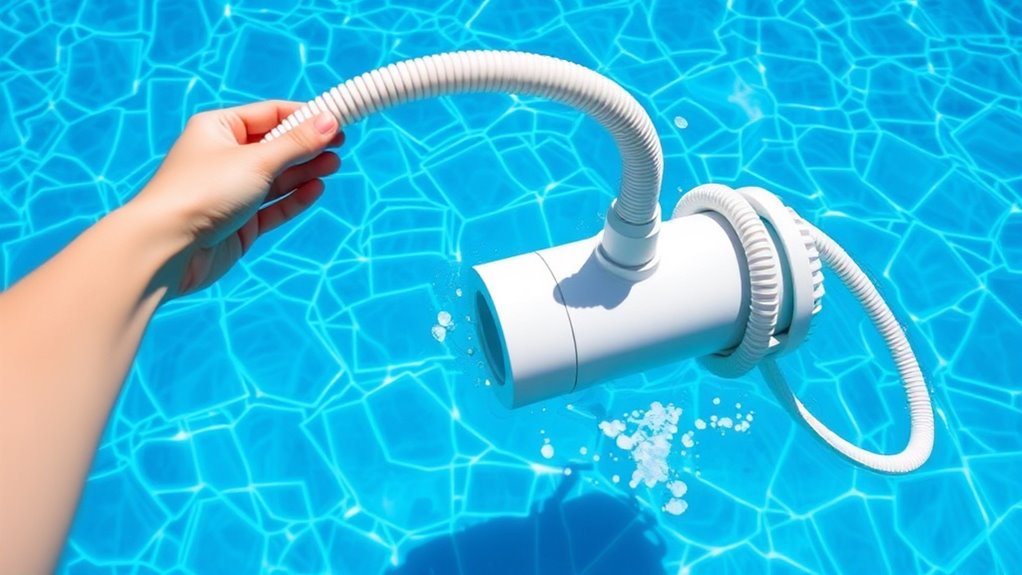
Hose Priming Process
Before attaching the hose to the cleaner and skimmer, you need to prime it to guarantee proper suction. Start by ensuring the hose material is flexible and free of kinks. Use effective priming techniques, such as submerging the hose in water or filling it with water from a bucket, to remove air pockets. This helps create a vacuum seal and prevents loss of suction during operation.
Here’s what you should focus on:
- Confirm the hose is fully submerged during priming
- Avoid trapping air by sealing all connections tightly
- Check that the hose is free of leaks or cracks before use
Leak Inspection Tips
Have you thoroughly primed the hose to guarantee no air pockets remain? Properly priming ensures your pool cleaner functions efficiently and reduces leaks. During leak inspection, check all connections and fittings for signs of water seepage or looseness. Listen for hissing sounds that may indicate escaping air or water. It’s essential to follow safety precautions, such as turning off the pool pump before inspecting or adjusting hoses. Regular leak checks are crucial for effective pool maintenance and to prevent unnecessary wear on your equipment. If you notice leaks, tighten fittings or replace damaged hoses immediately. Staying vigilant helps maintain ideal suction and prolongs the lifespan of your pool cleaner. Always prioritize safety and thorough inspection to keep your pool spotless and well-maintained.
Connect the Hose to the Skimmer or Dedicated Suction Line
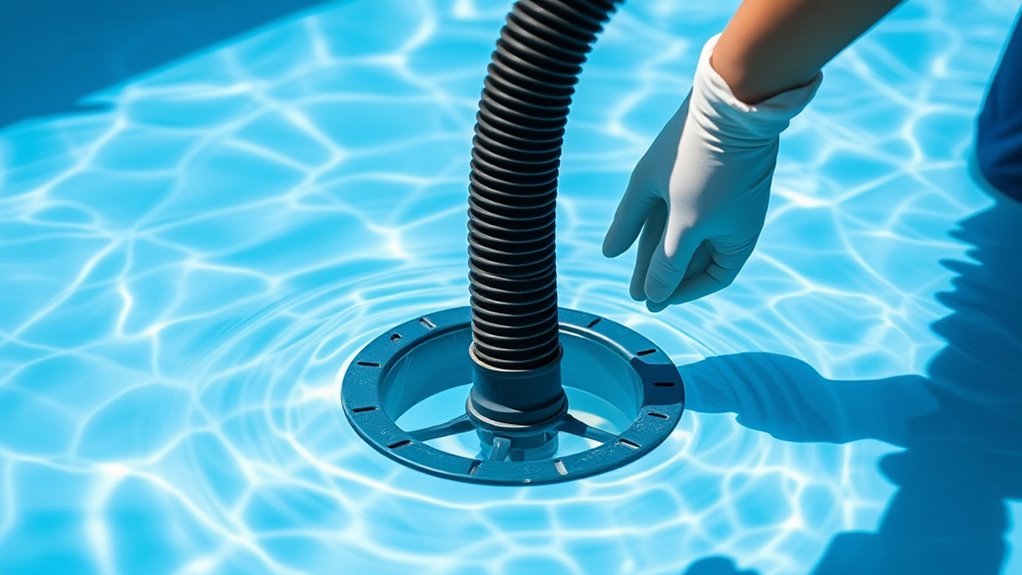
To connect the hose to the skimmer or dedicated suction line, start by turning off your pool pump to prevent water flow. Next, ensure the hose length is appropriate—too long can tangle, too short may not reach the pool bottom. Position the hose so it aligns with your skimmer placement for ideal suction.
- Verify the skimmer or suction line is clean and free of obstructions
- Attach the hose securely to the skimmer or dedicated suction port
- Adjust the hose to avoid kinks and guarantee smooth water flow
Unroll and Position the Hose Properly in the Pool
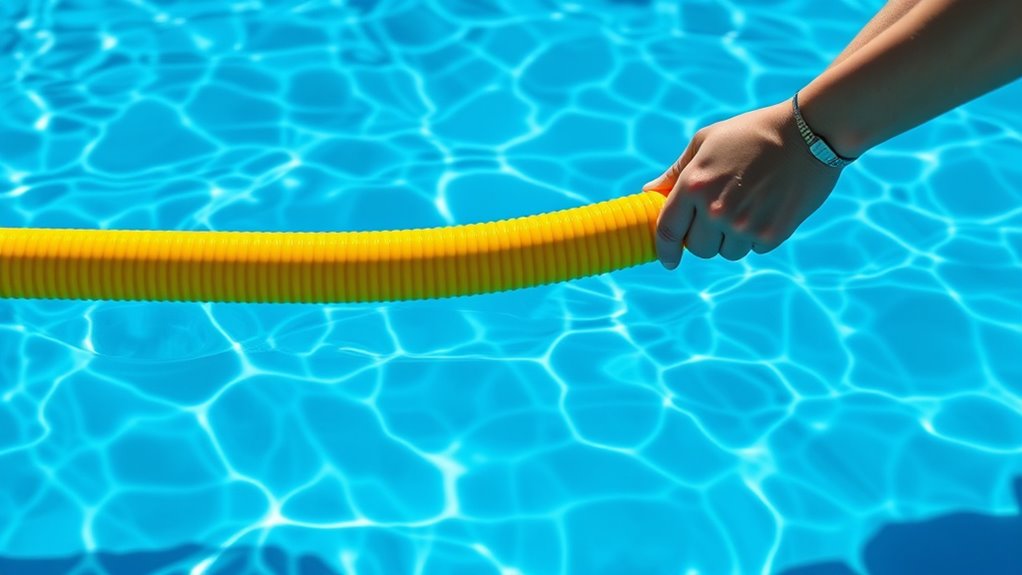
Wondering how to guarantee your pool cleaner operates smoothly? The key is unrolling and positioning the hose correctly. Start by laying out the hose in the pool, ensuring the hose length is appropriate—too long can cause tangles, while too short limits coverage. Use the hose flexibility to gently shape it around the pool’s contours, avoiding kinks and knots. As you unroll, keep the hose straight and flat on the pool surface, preventing twists that could impair movement. Distribute the hose evenly around the pool, ensuring it doesn’t bunch up or pull on the cleaner. Proper positioning helps the cleaner move freely, optimizing its cleaning path and reducing strain on the hose and motor. This step sets the foundation for efficient cleaning.
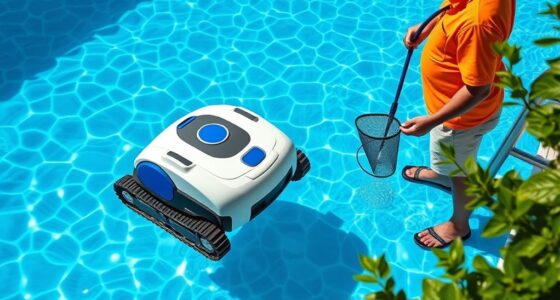
Turn On the Pool Pump and Observe the Cleaner’s Movement
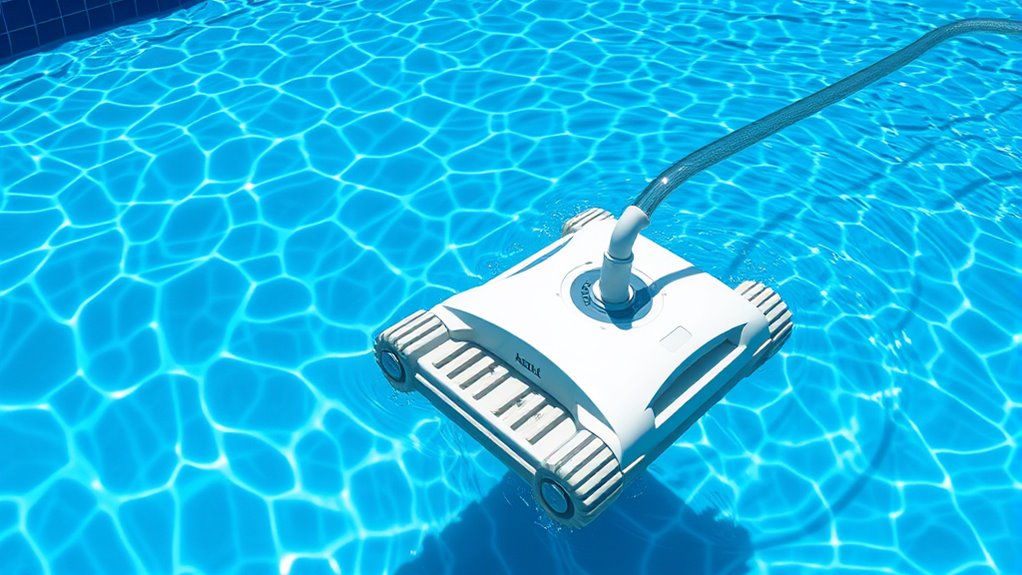
Once you turn on the pool pump, watch how the cleaner begins to move across the surface. This initial observation helps guarantee it’s functioning correctly. Pay attention to the cleaner’s pattern—whether it’s gliding smoothly or getting stuck. Proper pool water chemistry can influence its movement, so make sure the water’s pH and chlorine levels are balanced. Different suction cleaner types may behave slightly differently, so understanding how your specific model should move is key.
- Check for consistent movement without hesitation or dead spots
- Notice if the cleaner is collecting debris effectively
- Confirm that water flow and suction are strong enough for ideal performance
Observing these aspects ensures your cleaner works efficiently right from the start.
Adjust the Hose and Cleaner to Optimize Cleaning Performance
Adjusting the hose and cleaner properly is essential for maximizing your suction pool cleaner’s efficiency. First, ensure the hose length is just right; it shouldn’t be too long or too short, as improper length can cause tangling or poor movement. A properly adjusted hose allows the cleaner to move smoothly along the pool surface. Next, focus on the cleaner angle—position it so that it glides at a slight incline rather than flat or awkward angles. This helps the cleaner cover the pool evenly and prevents it from getting stuck. Make small adjustments to both the hose length and the cleaner’s angle, then observe its movement. Correct adjustments will improve cleaning performance and reduce the chances of snagging or inefficient coverage.
Frequently Asked Questions
How Often Should I Clean or Replace My Suction Pool Cleaner?
You should clean your suction pool cleaner regularly to maintain ideal performance, ideally once a week during heavy use seasons. Follow the maintenance schedule provided by the manufacturer, which usually involves rinsing and inspecting parts for wear. Replacement guidelines vary, but generally, you should replace your cleaner every 3-5 years or if you notice significant damage or decreased efficiency. Proper upkeep ensures your cleaner works effectively and lasts longer.
Can I Use the Cleaner in a Saltwater Pool?
Did you know saltwater pools are now 50% more popular than five years ago? You can definitely use your suction pool cleaner in a saltwater pool, but it’s important to take into account pool maintenance and equipment durability. Salt can be corrosive, so check your cleaner’s parts regularly and rinse it after use. Proper upkeep ensures your equipment lasts longer, maintaining effective cleaning without damage from the salty environment.
What Should I Do if the Cleaner Gets Stuck?
If your suction pool cleaner gets stuck, first check the suction power to guarantee it’s strong enough. Then, look for debris clogging the intake or wheels, which can cause it to halt. Clear any debris you find and reposition the cleaner to a different area. Regularly inspecting and maintaining the cleaner helps prevent it from getting stuck, keeping it working efficiently and maintaining proper suction power.
Is It Safe to Leave the Cleaner in the Pool Overnight?
You might wonder if it’s safe to leave your suction pool cleaner overnight. While it seems convenient, it’s best to prioritize pool safety and maintenance. Leaving it in the pool can cause wear or clogging, and sometimes pose a safety risk if kids access the pool unattended. Regularly removing and inspecting your cleaner as part of your maintenance schedule guarantees it functions properly, keeping your pool clean and safe for everyone.
How Do I Troubleshoot if the Cleaner Isn’t Moving Properly?
If your pool suction cleaner isn’t moving properly, start by checking the hose for blockages or leaks, as these can hinder cleaner movement. Confirm the hose is the right length and properly connected. Verify the skimmer and pump baskets are clear, and that the suction port isn’t clogged. Adjust the cleaner’s position and test again. Regular maintenance keeps your pool suction working efficiently, helping your cleaner move smoothly across the pool surface.
Conclusion
Now, picture your pool sparkling under the sun, the suction cleaner gliding effortlessly across the surface like a sleek underwater robot. With everything set up just right, you’ve transformed your pool into a pristine oasis. As the cleaner moves smoothly, it’s working tirelessly to banish dirt and debris, leaving behind crystal-clear water. Sit back and enjoy the peaceful, inviting glow of your freshly cleaned pool—your personal paradise, ready for a invigorating swim.