
To make safe DIY kombucha, start with a clean, non-reactive glass jar and guarantee your utensils and ingredients are sanitized. Use breathable cloth covers, avoid metal or plastic containers, and leave enough space for gases. Follow proper flavoring timing and avoid contamination. Regularly check for spoilage signs like mold or foul odors. Refrigerate bottles after carbonation to prevent overpressure. For detailed steps and tips, explore the full safety checklist to keep your brew safe and tasty.
Key Takeaways
- Use a non-reactive glass jar with breathable cover to prevent contamination and allow gases to escape.
- Keep all utensils, containers, and hands thoroughly clean to prevent mold and bacteria growth.
- Add flavorings during the second fermentation with clean ingredients to ensure safety and proper carbonation.
- Bottle with airtight, sturdy containers, leaving headspace, and monitor pressure to avoid explosions.
- Regularly inspect for mold, foul odors, or discoloration, and discard any contaminated batches immediately.
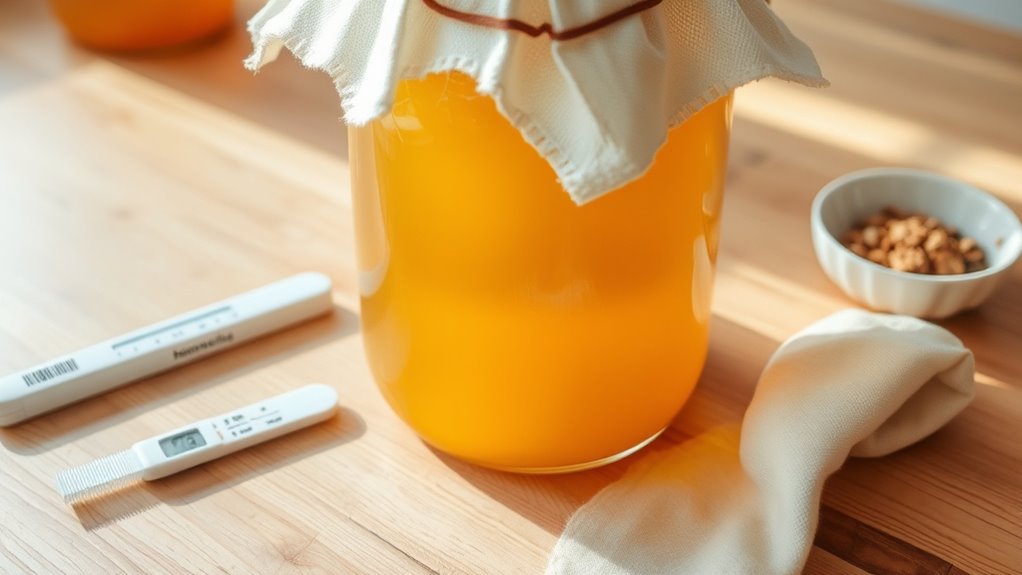
Have you ever wondered how to make your own kombucha at home? If so, you’re about to embark on a rewarding journey that combines science and creativity. Starting with the right tools is essential, especially when it comes to fermentation vessels. Your choice of vessel can influence both the safety and flavor of your brew. Glass jars are the gold standard because they’re non-reactive, easy to clean, and won’t impart unwanted flavors. Avoid using metal or plastic containers, as they can react with the acidic environment of kombucha, potentially introducing contaminants or altering the flavor. Ensure your fermentation vessel is large enough to accommodate the tea and SCOBY comfortably, with ample headspace for fermentation gases to escape. Cover the jar with a breathable cloth or coffee filter secured with a rubber band. This allows airflow, which is crucial for fermentation, while preventing dust, insects, or debris from contaminating your brew. Using a non-reactive container is important because it prevents chemical reactions that could compromise your brew’s safety and flavor.
Once your kombucha has fermented for the appropriate time—usually between 7 to 14 days—you can explore flavoring techniques to personalize your beverage. When adding flavors, always use clean utensils and ingredients to prevent contamination. Popular options include fresh fruit, herbs, and spices. For example, you might add sliced berries, ginger, or mint leaves. To guarantee safety, avoid adding ingredients that could introduce unwanted bacteria or mold. Always add flavorings after the initial fermentation, during the second fermentation stage, which also helps carbonate your kombucha naturally. When doing this, transfer your kombucha to bottles with airtight seals, leaving some headspace for carbonation. Be cautious not to overfill, as pressure can build up and cause bottles to explode if not handled properly. It’s best to use sturdy bottles designed for carbonated beverages, like swing-top glass bottles, to contain the pressure safely.
Taste your kombucha regularly during the second fermentation to determine when it’s just right. Once it reaches your preferred flavor profile and level of carbonation, refrigerate the bottles to slow fermentation and prevent over-carbonation. When opening, do so gently to release pressure gradually. Throughout the entire process, cleanliness is paramount. Always wash your hands, utensils, and storage containers thoroughly to minimize the risk of bacteria or mold growth. Keep an eye out for any signs of spoilage, such as mold, foul odors, or unusual colors, and discard contaminated batches immediately. By carefully selecting your fermentation vessels, mastering flavoring techniques, and maintaining strict hygiene, you can enjoy safe, delicious homemade kombucha every time.
Frequently Asked Questions
How Long Does Homemade Kombucha Typically Last Before Spoiling?
Homemade kombucha usually lasts about 1 to 3 weeks when stored properly in the fridge. Pay attention to spoilage indicators like an off smell, mold, or a significant change in taste or appearance. Proper storage duration helps prevent fermentation overgrowth and spoilage. Keep your kombucha covered tightly and refrigerated to extend its shelf life, ensuring it stays safe and delicious for as long as possible.
Can I Use Any Type of Tea or Sweetener for Brewing?
Imagine a bubbling cauldron of tea, ready for your brew. You can use many tea varieties, like black, green, or white, each adding unique flavors. For sweeteners, options like cane sugar, honey, or agave work well, providing the nourishment your SCOBY needs. Just avoid flavored or herbal teas with oils or additives, as they can harm your fermentation. Stick to simple, natural ingredients for the best kombucha.
What Are Common Signs of Contamination or Mold?
You should look for mold identification or contamination signs when brewing kombucha. Common signs include fuzzy, colorful patches on the surface, a slimy texture, or an off smell. If you notice any unusual growth or a strong, unpleasant odor, it’s best to discard the batch. Always trust your senses—if something seems off, it’s safer to start fresh. Proper hygiene and careful monitoring help prevent contamination and guarantee a healthy brew.
Is It Safe to Share SCOBYS With Others?
Sharing scobys can be risky because of potential contamination risks. If you share with others, you might unknowingly transfer bacteria or mold, which could spoil your brew or cause health issues. To stay safe, only exchange scobys with trusted friends who follow proper hygiene practices. Always inspect the scoby for signs of mold or contamination before sharing, and consider quarantining it for a week to make sure it’s healthy.
How Do I Troubleshoot if My Kombucha Isn’t Fermenting Properly?
Think of your kombucha like a garden; if it’s not thriving, you need to check its conditions. For fermentation troubleshooting, guarantee your SCOBY health is good—look for mold, off smells, or sliminess. Temperature matters too; keep it around 75-85°F. If it’s sluggish, try gently stirring or giving it more time. Sometimes, adjusting these factors sparks fermentation and revives your brew.
Conclusion
As you finish your homemade kombucha, remember it’s more than just a drink—it’s a symbol of patience and care you’ve cultivated. Each step, like tending a delicate garden, guarantees your brew’s safety and flavor. Trust in your process, and let your kombucha be a reminder that with attention and love, even the simplest creations can become meaningful treasures. Savor each sip, knowing you’ve nurtured something special from start to finish.