To switch from a suction to a pressure pool cleaner, first make certain your pool’s plumbing can support the new system and gather all necessary equipment like hoses, fittings, and a booster pump if needed. Remove your current suction cleaner carefully, adjust the water level, and install the pressure cleaner following manufacturer instructions. Proper setup and testing will improve debris removal and coverage. Keep going to discover detailed steps for a smooth transition and optimal results.
Key Takeaways
- Turn off the pool pump and filter before removing the suction cleaner to prevent damage and ensure safety.
- Remove the suction cleaner carefully, clean hoses and filters, then store it in a dry, protected location.
- Verify compatibility of the new pressure cleaner with your pool’s plumbing and equipment, including hoses and fittings.
- Adjust the water level to about halfway up the skimmer opening to optimize pressure cleaner performance.
- Connect the pressure cleaner with appropriate hoses, fittings, and booster pump if needed, then turn on the system and test for proper operation.
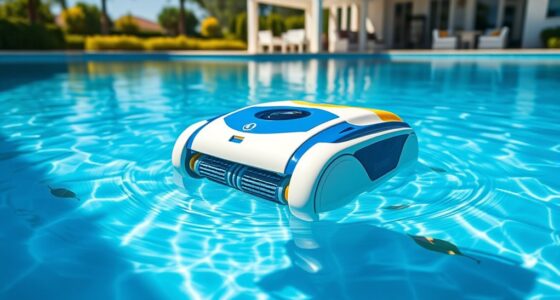
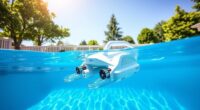
Understanding the Differences Between Suction and Pressure Pool Cleaners
While both suction and pressure pool cleaners keep your pool clean, they operate quite differently. Suction cleaners connect directly to your skimmer or dedicated suction line, relying on your pool’s pump to generate the vacuum needed to clean. They tend to be more energy-efficient since they use less power, which benefits your pool chemistry by reducing chemical imbalances caused by excess debris. Energy consumption is a significant factor in choosing between these types, especially for larger pools or frequent cleaning needs. Additionally, maintenance and cleaning of your pool cleaner can extend its lifespan and improve its performance. Understanding the operational differences between these cleaners can help you select the most suitable option for your pool’s specific requirements. Proper selection also influences the overall cost-effectiveness of your pool maintenance routine. Incorporating Glycolic Acid in your pool’s maintenance routine can help maintain clear and healthy water by controlling algae and bacteria growth, further supporting your pool’s cleanliness and longevity.
Reasons to Make the Switch to a Pressure Pool Cleaner
Switching to a pressure pool cleaner can substantially enhance your pool’s cleanliness, especially if you’re dealing with stubborn debris or larger debris that suction cleaners struggle to handle. If you find yourself constantly battling leaves, twigs, or dirt, a pressure cleaner offers more power and coverage. It improves your pool maintenance routine by efficiently cleaning hard-to-reach spots and reducing the need for manual skimming. Additionally, making this switch is a smart equipment upgrade that can save you time and effort in the long run. Pressure cleaners are generally more effective at thorough cleaning, which helps maintain ideal water quality. Upgrading your pool cleaning equipment ensures your pool stays crystal clear, making your swimming experience more enjoyable and less labor-intensive.
Preparing Your Pool for the Transition
Before switching to a pressure pool cleaner, you need to clear out any debris to prevent clogs. Make sure your water level is properly adjusted so the cleaner can operate efficiently. Additionally, verifying the pool filtration system ensures optimal performance of your new pressure cleaner. Proper equipment maintenance can also help prevent future issues and extend the life of your pool components. Regularly inspecting your pool’s system performance can identify potential problems early and ensure smooth operation. Finally, check your pool equipment to guarantee everything is working correctly for a smooth changeover.
Clear Debris First
To guarantee a seamless changeover from your suction to pressure pool cleaner, you need to start by removing all debris from the pool’s surface and bottom. Clear out leaves, dirt, and other particles to prevent clogs and ensure efficient cleaning. Before switching, check that your pool is safe by maintaining proper chemical balancing and ensuring no debris blocks the skimmer or drain. This step not only improves pool safety but also protects your new pressure cleaner from damage. Use the following table as a quick guide:
| Debris Removal | Chemical Balance | Safety Check |
|---|---|---|
| Remove leaves | Test pH and chlorine | Inspect skimmer |
| Clear bottom | Adjust chemicals | Ensure no obstructions |
| Skim surface | Balance water chemistry | Confirm secure fittings |
| Vacuum thoroughly | Maintain consistent levels | Check for sharp objects |
| Final inspection | Confirm safe conditions | Prepare for transition |
Proper preparation makes your switch smoother and safer. Additionally, verifying the filtration system ensures debris won’t bypass the cleaner during operation. Regularly inspecting your pool’s filter can help maintain optimal flow and prevent debris buildup that could hinder your new pressure cleaner. It is also helpful to review the pool’s circulation to ensure water flows correctly through the system. A properly maintained pump can further enhance overall circulation and cleaning efficiency, making the transition easier.
Adjust Water Level
Have you checked your pool’s water level recently? Ensuring the correct level is vital before switching to a pressure cleaner. If the water’s too low, your pool’s water chemistry can become imbalanced, affecting clarity and safety. Conversely, too high a level can cause the cleaner to malfunction or miss debris. Adjust the water to reach the recommended level, usually about halfway up the skimmer opening or pool tiles. Proper water balance supports pool safety by preventing algae growth and corrosion. Maintaining an ideal water level also helps your pressure cleaner operate efficiently, reducing strain on your pool’s equipment. Take a few minutes now to verify and adjust the water level—this simple step guarantees a smooth transition and keeps your pool safe and clean. Additionally, monitoring water levels can help ensure optimal performance and longevity of your pool equipment, much like how understanding family photoshoot fails can lead to more enjoyable experiences. Maintaining proper water levels is also essential for preventing equipment damage caused by improper water balance.
Check Pool Equipment
Make sure your pool’s equipment is ready for the switch to a pressure cleaner by inspecting all key components. Check that your pump, filter, and valves are functioning properly to ensure peak performance. Verify that the water level is appropriate for circulation and that your pool’s chemical balancing is maintained for safety and clarity. Also, review pool safety measures, like secure covers and proper signage, to prevent accidents during operation. Use the table below to guide your inspection:
| Component | Inspection Focus | Action Needed |
|---|---|---|
| Pump & Filter | Check for leaks, debris, and flow | Clean or repair as necessary |
| Valves | Ensure proper opening/closing | Adjust or replace if faulty |
| Chemical Levels | Confirm pH, alkalinity, sanitizer | Balance chemicals before switching |
| Safety Measures | Confirm covers and signage | Reinforce or update as needed |
Proper preparation guarantees safe, efficient operation. Additionally, ensuring your equipment is free from debris and blockages can prevent unnecessary strain on your system and extend its lifespan, especially since clogs from debris are a common issue in pool maintenance. Regular maintenance and inspections help maintain optimal performance and longevity of your pool equipment.
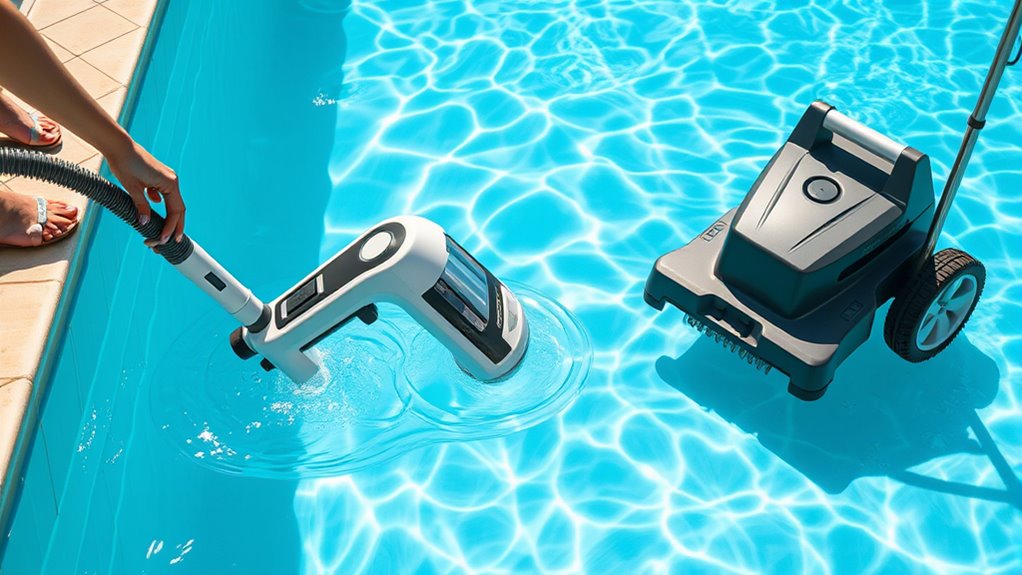
Gathering the Necessary Equipment and Tools
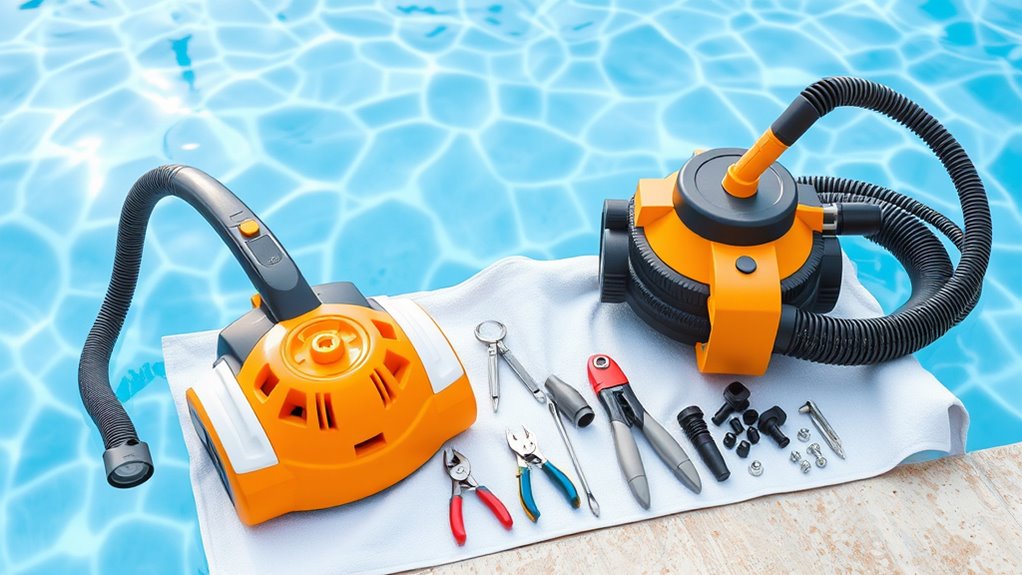
Before you start switching to a pressure pool cleaner, you need to gather the right equipment and tools. Make sure you have a complete checklist of what’s required, and prepare each item beforehand. Don’t forget to verify that your new cleaner is compatible with your pool system to guarantee a smooth transition.
Required Equipment Checklist
Switching from a suction to a pressure pool cleaner requires gathering the right equipment to guarantee a smooth transition. First, verify you have a compatible pressure-side cleaner suited for your pool’s size and shape. You’ll also need a compatible booster pump if your system doesn’t have one, along with hoses and fittings designed for pressure cleaning. Check your pool chemistry to confirm chemical levels are balanced, as this affects overall maintenance. Don’t forget safety precautions—wear gloves and goggles when handling equipment, and turn off power before making connections. Inspect hoses for leaks or damage before installation. Having all these items ready helps prevent delays and ensures you follow safety procedures, making the switch efficient and safe.
Tool Preparation Steps
To begin preparing for the shift, gather all the essential tools and equipment you’ll need for installing your pressure pool cleaner. This includes your new cleaner, hoses, clamps, and a screwdriver. Make sure you have a pool skimmer net nearby to clear debris during the process. Proper tool preparation is crucial for efficient installation and helps prevent unnecessary troubleshooting later. Follow maintenance tips, like inspecting hoses for cracks and ensuring fittings are clean and secure. Having the right tools on hand minimizes delays and reduces frustration. Additionally, organize your workspace to easily access everything needed. Being prepared with the proper equipment makes the switch smoother, and it allows you to troubleshoot minor issues quickly, ensuring your pressure pool cleaner operates at its best from the start.
Compatibility Verification
Ensuring compatibility between your pool cleaner and your pool’s plumbing setup is essential before starting installation. You want to verify that your equipment fits your pool’s configuration to avoid issues down the line. Gather the necessary tools and parts, including adapters, hoses, and fittings suited for pressure cleaners. Check that your pool’s plumbing allows proper water flow and maintains pool safety standards. Confirm that your chemical balance is stable to prevent equipment damage.
Here’s what to prepare:
- Correct adapters and fittings for your pool’s plumbing
- Hoses compatible with pressure cleaner specifications
- Tools for securing connections and testing water flow
Verifying compatibility guarantees a smooth transition and reliable operation, keeping your pool safe and well-maintained.
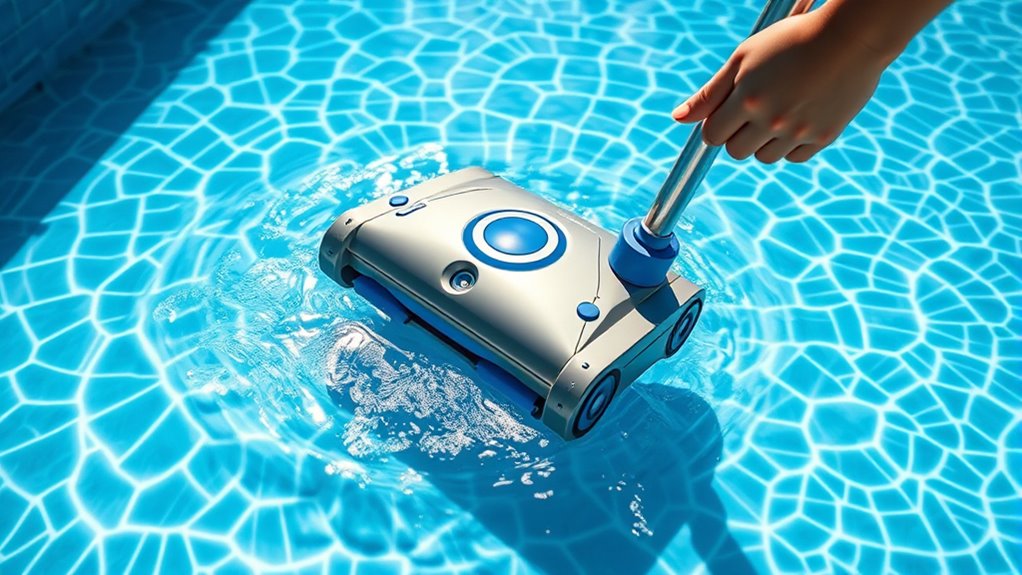
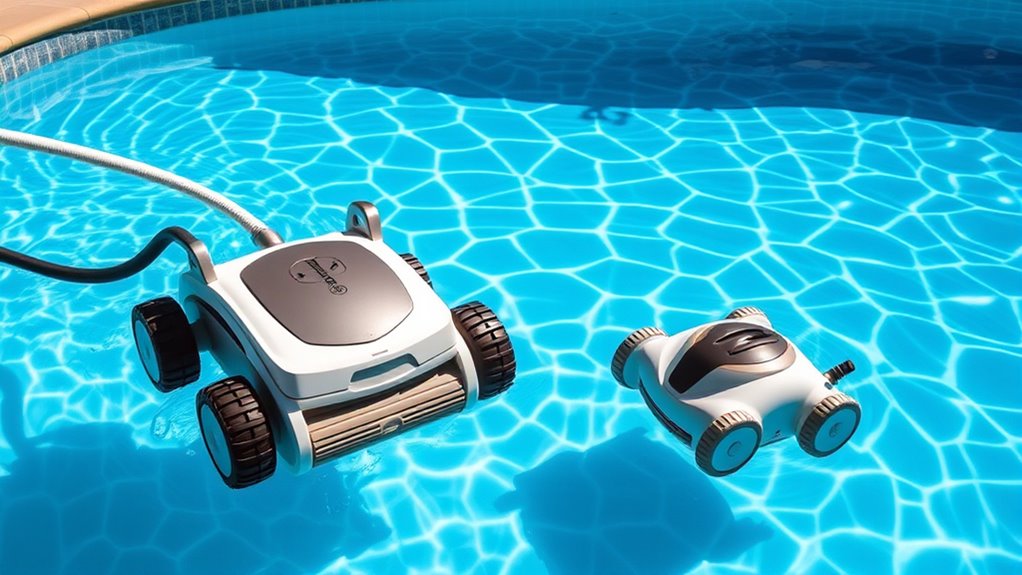
Removing the Suction Pool Cleaner Safely
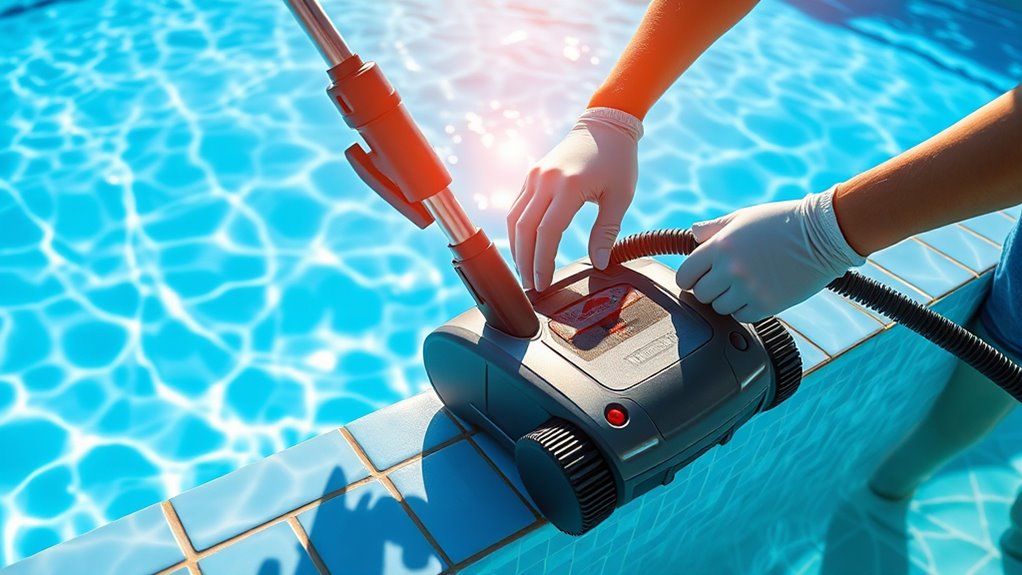
Before removing your suction pool cleaner, it’s important to turn off the pool’s pump and filter system to prevent any water flow or pressure from causing issues. Doing so guarantees pool safety and prevents accidents or damage. Carefully detach the cleaner from the skimmer or suction port, following your manufacturer’s instructions. Check your maintenance schedules to determine if any filters or hoses need cleaning or inspection afterward. Be gentle to avoid damaging the hoses or fittings. Once detached, store the cleaner in a safe, dry place to prolong its lifespan. Regularly removing and inspecting the cleaner helps maintain ideal pool safety and keeps your pool in top condition. Always follow manufacturer guidelines for removal and storage to ensure smooth operation when switching to your pressure pool cleaner.
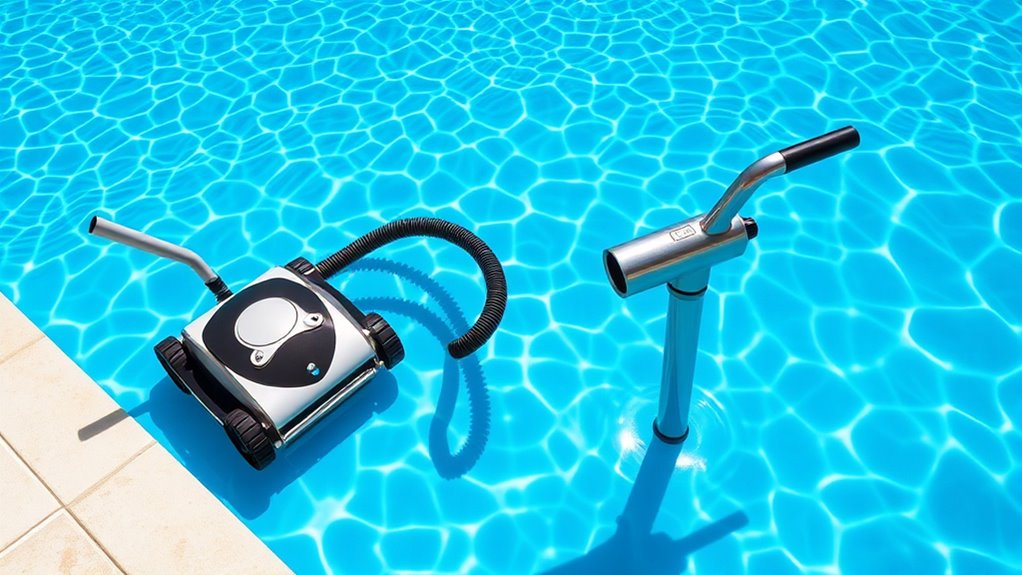
Installing and Setting Up the Pressure Pool Cleaner
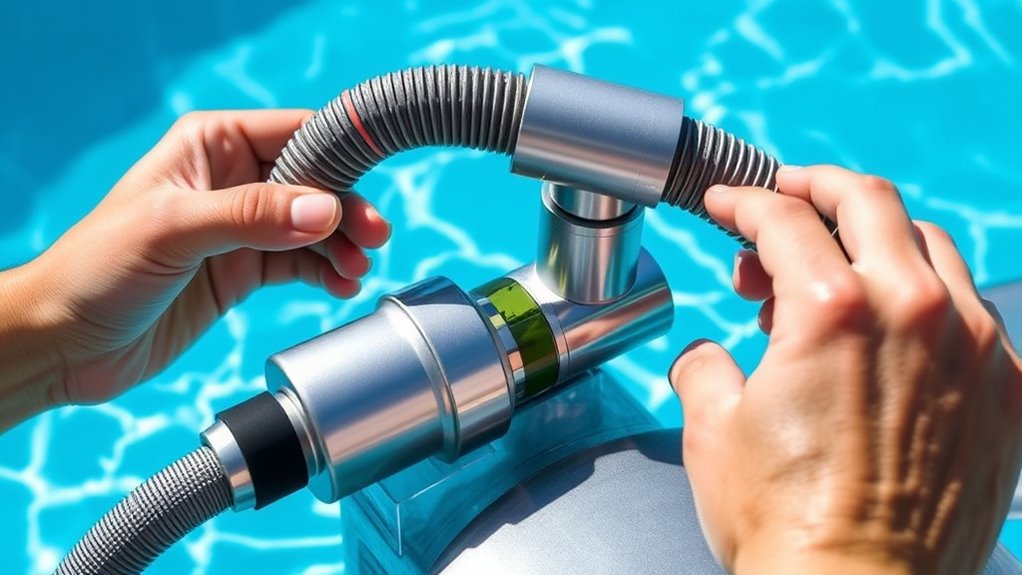
Installing and setting up your pressure pool cleaner begins by connecting the unit to your pool’s dedicated pressure line or return jet, following the manufacturer’s instructions carefully. Verify the pressure valve is properly adjusted to balance flow and avoid damage. As you install, check your pool chemistry to confirm chemical levels are balanced, promoting cleaner operation and protecting your equipment. While setting up, prioritize safety precautions: turn off the pump and power supply beforehand to prevent accidents. Make sure hoses are free of kinks and securely attached to prevent leaks or disconnections during operation. Visualize the cleaner moving smoothly across the pool floor, with pressure lines securely in place. Proper setup guarantees effective cleaning and prolongs the life of your pressure cleaner.
Testing and Fine-Tuning for Optimal Performance
Once you’ve installed your pressure pool cleaner, the next step is to test its operation and make necessary adjustments to achieve ideal performance. Start by observing its coverage and ensuring it cleans evenly. Check for proper water flow and adjust the pressure as needed. Also, verify that the vacuum isn’t losing suction, which can impact algae prevention efforts. Proper pool chemical balancing is essential; balanced chemicals improve cleaner efficiency and help prevent algae buildup. Regular testing ensures your pool stays clean and healthy. Use this table as a quick reference:
| Issue | Adjustment | Result |
|---|---|---|
| Poor coverage | Increase pressure | Better cleaning coverage |
| Insufficient suction | Check hoses and connections | Improved suction strength |
| Uneven cleaning | Adjust cleaner position | Even debris removal |
| Cloudy water | Balance pool chemicals | Clearer water, algae prevention |
| Algae buildup | Improve filtration and chemicals | Cleaner, algae-free pool |
Frequently Asked Questions
How Often Should I Perform Maintenance on My Pressure Pool Cleaner?
You should perform maintenance on your pressure pool cleaner regularly, ideally weekly, to keep it running smoothly. Check the pool chemical balance to prevent algae and buildup that could clog the system. Also, follow debris removal routines to clear leaves and dirt from the cleaner’s parts. Regular maintenance ensures peak performance, extends the cleaner’s lifespan, and keeps your pool crystal clear. Don’t forget to inspect hoses and brushes during each check.
Are There Specific Pool Sizes Better Suited for Pressure Cleaners?
When choosing a pressure cleaner, consider your pool size to guarantee ideal efficiency. Larger pools typically benefit from pressure cleaners because they cover more area quickly, while smaller pools may not need such power. Pool size considerations help you select a model that maximizes pressure cleaner efficiency, saving you time and effort. Always match your pool size with the cleaner’s capacity for the best cleaning results and to avoid unnecessary wear on your equipment.
Can I Use a Pressure Cleaner With an Existing Automatic Pool Cover?
Imagine your pool as a well-choreographed dance, each piece working in harmony. Using a pressure cleaner with an automatic pool cover is possible, but you need to check compatibility first. Follow installation tips carefully and adhere to safety guidelines to avoid mishaps. Guarantee your cover’s design allows for the cleaner’s movement without damage. With the right setup, your pool can stay spotless while your cover keeps everything safe and secure.
What Safety Precautions Are Necessary During Installation and Removal?
During installation safety, you should wear protective gear like gloves and goggles to avoid injuries. Make sure the power is off before starting, and follow the manufacturer’s instructions carefully. For removal precautions, disconnect all hoses and power sources first, then handle the equipment gently to prevent damage. Always work in a well-lit area and keep the workspace clear. These steps help guarantee safe installation and removal of your pressure pool cleaner.
How Do I Troubleshoot if the Pressure Cleaner Isn’t Moving Properly?
If your pressure cleaner isn’t moving properly, first check the pressure hose for kinks or blockages that could restrict flow. Confirm the hose is securely connected and not damaged. Examine the motor for signs of issues like unusual noises or overheating. If these steps don’t resolve the problem, you might need to inspect the impeller or replace worn parts. Regular maintenance helps keep your pressure cleaner running smoothly.
Conclusion
Making the switch from suction to pressure pool cleaner is like changing gears on a smooth ride—you’ll enjoy a more efficient, thorough clean. With the right preparations and setup, you’ll soon see your pool sparkle brighter than ever. Embrace the new rhythm of cleaning, and watch your pool become a dazzling oasis. Shifting may seem like a leap, but with a little effort, you’ll glide into a cleaner, more enjoyable pool experience in no time.