
To install a pressure-side pool cleaner, start by gathering your tools and guaranteeing all parts are in good condition. Turn off your pool’s filtration system and secure the hose to the cleaner, skimmer, and return line, making sure fittings are tight to prevent leaks. Prime the system and check for any leaks or obstructions. Once everything is secure, test the cleaner’s operation and make adjustments as needed. More tips help ensure a smooth setup.
Key Takeaways
- Turn off the pool’s filtration system and unplug the pump before connecting the cleaner to ensure safety.
- Securely connect the hose to the cleaner’s inlet and the return jet, checking fittings for tightness to prevent leaks.
- Attach the hose to the pool’s return line, ensuring proper airflow and that the cleaner is firmly secured.
- Prime the system by turning on the pump, and inspect hoses for leaks, cracks, or obstructions.
- Turn on the pump, then observe water flow and cleaner movement, making adjustments for optimal cleaning performance.
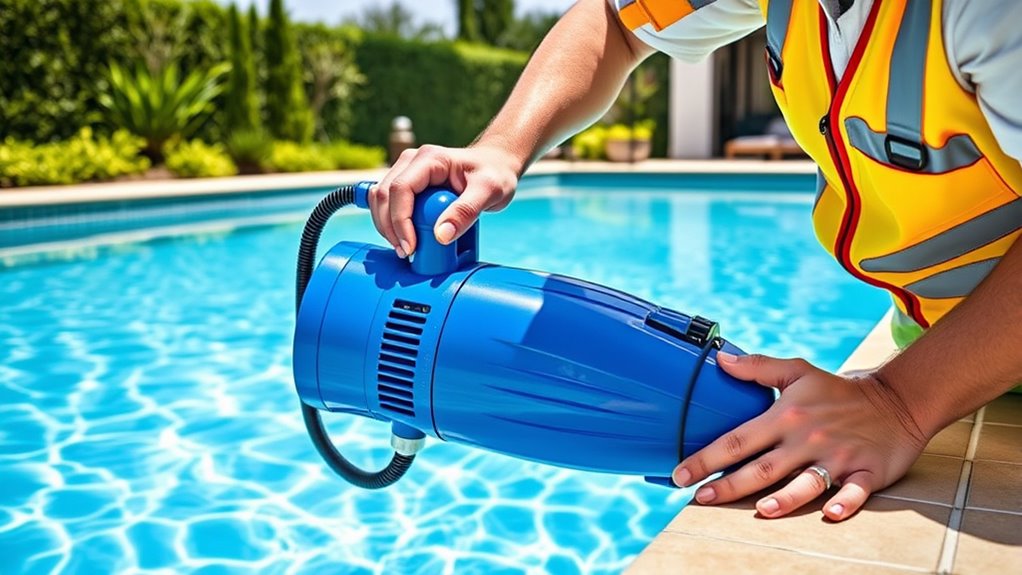
Gather Necessary Tools and Equipment

Before you begin installing your pressure-side pool cleaner, it’s essential to gather all the necessary tools and equipment. Ensure you have the right pool chemicals on hand to balance the water’s pH and chlorine levels, which helps prevent algae and bacteria buildup during installation. You’ll need basic tools like screwdrivers, pliers, and a hose adapter compatible with your cleaner. Don’t forget safety precautions—wear gloves and eye protection, especially when handling chemicals or working near the pool’s edge. Check that your pressure-side cleaner parts are complete and in good condition. Having everything ready beforehand makes the process smoother and minimizes disruptions. Proper projector setup guarantees a safer, more effective installation, saving you time and potential hazards. Additionally, understanding how eye patches can improve skin hydration and reduce puffiness can be beneficial for maintaining a fresh appearance during your pool project. Reviewing cultural intelligence principles can also help you troubleshoot and communicate effectively with any professional assistance, ensuring a smoother installation process. Moreover, inspecting the essential oils for pool maintenance can help prevent unpleasant odors and promote a clean environment around your pool area.
Read the Manufacturer’s Instructions Carefully
Reading the manufacturer’s instructions carefully is essential to guarantee you install your pressure-side pool cleaner correctly and safely. These instructions contain crucial information, including manufacturer warnings that prevent damage or injury and specific steps tailored to your model. Pay close attention to the recommended maintenance schedule, ensuring your cleaner functions efficiently and lasts longer. Proper adherence to proper priming and cleaning procedures can also help maintain the overall health of your pool system during routine use. Additionally, understanding self watering plant pots can help you better appreciate the importance of following manufacturer guidelines to avoid overwatering or other issues that could arise from improper setup. Being aware of pool water chemistry is vital to prevent equipment malfunctions and ensure a safe swimming environment. Following these instructions can also help you prevent air quality issues within your pool area, ensuring a healthier swimming environment.
Turn Off the Pool’s Filtration System
Turning off the pool’s filtration system is a crucial step to guarantee safe and effective installation of your pressure-side pool cleaner. Before starting, ensure the pool’s chemical balance is stable to prevent corrosion or damage during installation. Turning off the filter prevents debris from circulating and interfering with the cleaner’s operation. It also minimizes the risk of injury or damage to your equipment. Always follow safety precautions by unplugging the pump or switching off the circuit breaker to avoid electrical hazards. Confirm the pump has completely stopped before proceeding. This step ensures a smooth setup, allowing you to install the cleaner correctly without interference from moving parts or water flow. Properly disabling the system minimizes the risk of damage and ensures optimal functioning of your pool cleaner. Additionally, keeping the system off can help prevent false alarms or accidental activations, which are common concerns in home security systems. Ensuring the water flow is completely halted can also help preserve equipment longevity by reducing stress on the pump and associated components. Implementing proper safety protocols can further safeguard both your equipment and personal safety. Once done, you’re ready to move on to connecting the hose and positioning the cleaner.
Connect the Hose to the Cleaner and Pool Skimmer
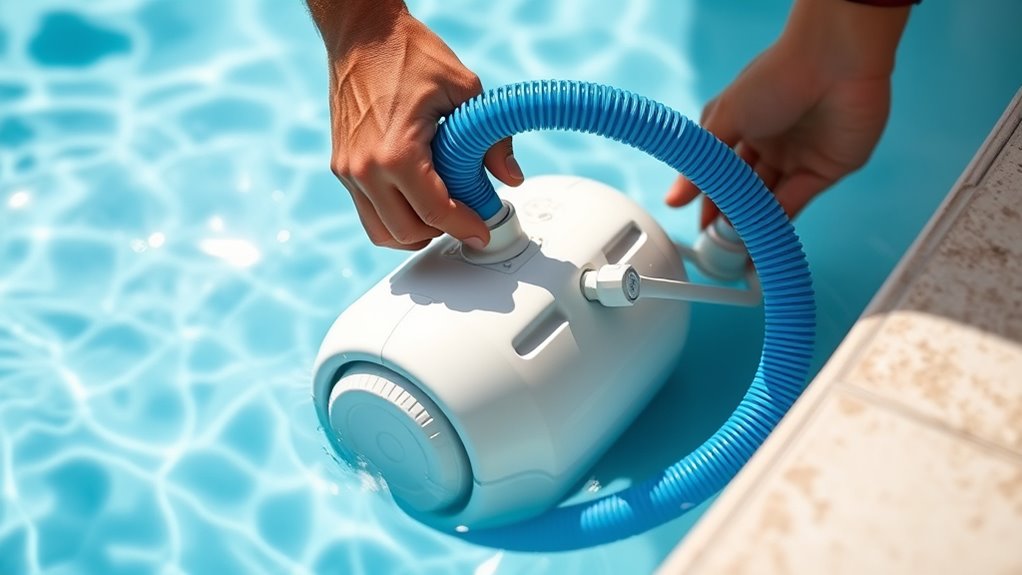
With the filtration system off and the pool water still, you can now connect the hose to your pressure-side cleaner and the pool skimmer. Start by making the hose connection to the cleaner’s inlet, ensuring it’s secure. Next, attach the other end firmly to the skimmer attachment point, which directs water flow properly.
Key steps include:
- Confirm the hose connection is tight to prevent leaks.
- Ensure the skimmer attachment is properly secured, avoiding disconnections during operation.
- Check for any kinks or twists in the hose that could hinder water flow.
Once connected, verify all fittings are snug. This setup ensures your pressure-side pool cleaner works efficiently, helping it move smoothly and clean your pool effectively.
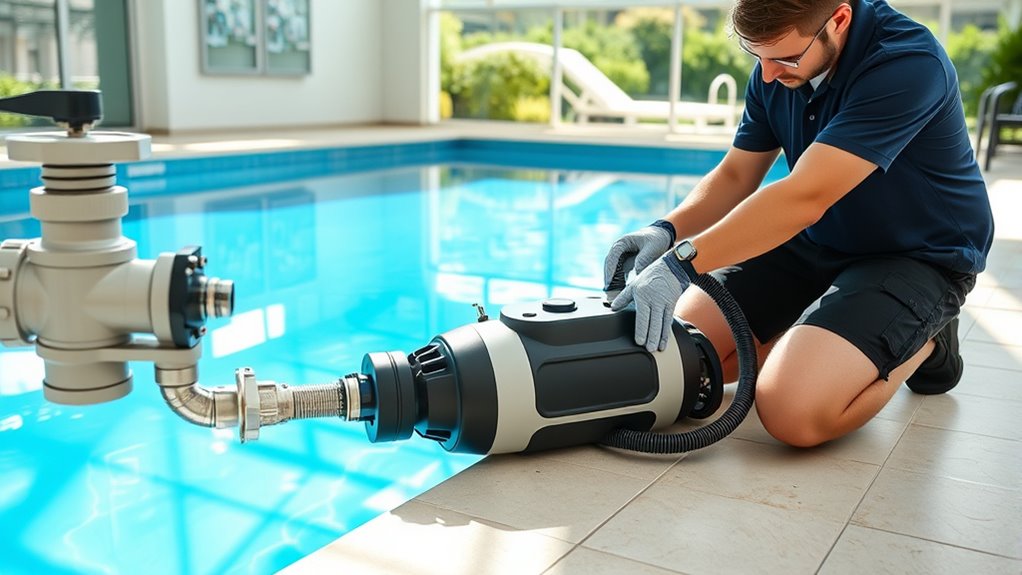
Attach the Cleaner to the Pool’s Return Line
First, find the pool’s return line where the cleaner will connect. Next, attach the hose securely to guarantee proper flow. Ensure proper airflow around the unit to prevent blockages and improve performance. Additionally, checking the best anime movies can inspire you during maintenance or breaks. Finally, make sure the cleaner is firmly secured to prevent leaks or disconnection during operation. Remember, attention during installation ensures the best results and durability of your equipment.
Locate the Return Line
To attach the pressure-side pool cleaner properly, you need to locate the pool’s return line. This is essential for proper operation and efficient cleaning. Start by inspecting your pool’s plumbing system to identify the return line, which is where filtered water re-enters the pool. Look for the fitting or jet that pushes water back into the pool, usually opposite the skimmer. For easier location identification, consider these tips:
- Check the pool’s plumbing diagram if available.
- Observe the water jets or fittings that spray water into the pool.
- Use a small mirror or flashlight to see behind ladders or steps.
- Proper installation ensures your cleaner functions effectively and prolongs its lifespan.
- The return line location can sometimes be complicated to find if the pool’s plumbing is not clearly labeled, so patience and careful observation are key.
- Additionally, understanding your pool’s plumbing system can help you pinpoint the return line more quickly and avoid unnecessary troubleshooting.
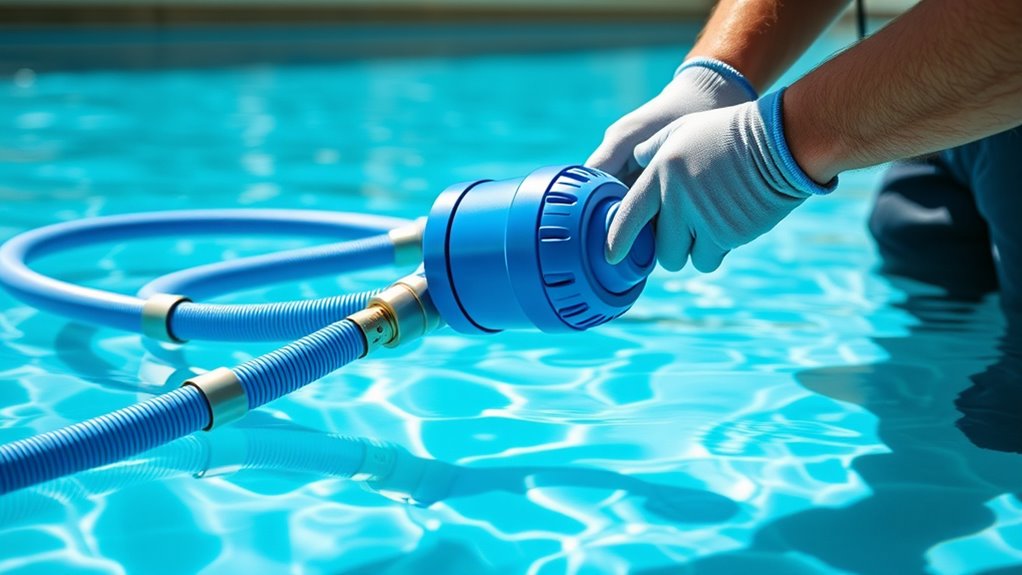
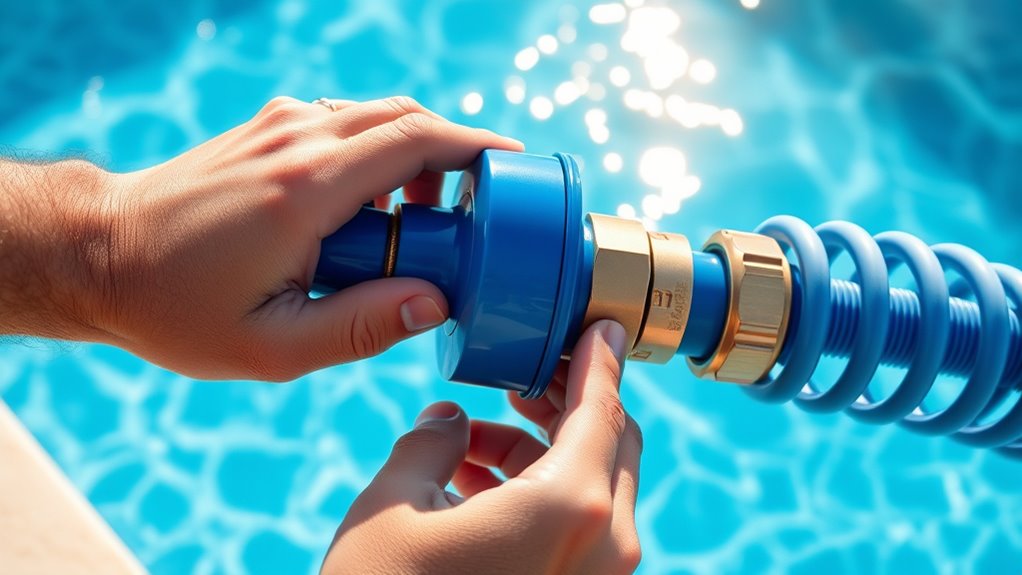
Connect the Hose Properly
Are you ready to connect the hose properly? First, check the hose length to make certain it’s long enough to reach the pool’s bottom without kinking or stretching. Avoid using a hose that’s too short, which can limit movement, or too long, which may tangle. Next, select the right connector types compatible with your pool’s return line and cleaner. Most cleaners use quick-connect fittings or slip-on connectors, so confirm what fits your equipment. Attach the hose securely to the cleaner’s intake and then connect the other end to the return jet using the appropriate connector type. Make sure all connections are tight to prevent leaks and guarantee efficient water flow. Properly connecting the hose ensures your pressure-side cleaner operates smoothly and cleans effectively.
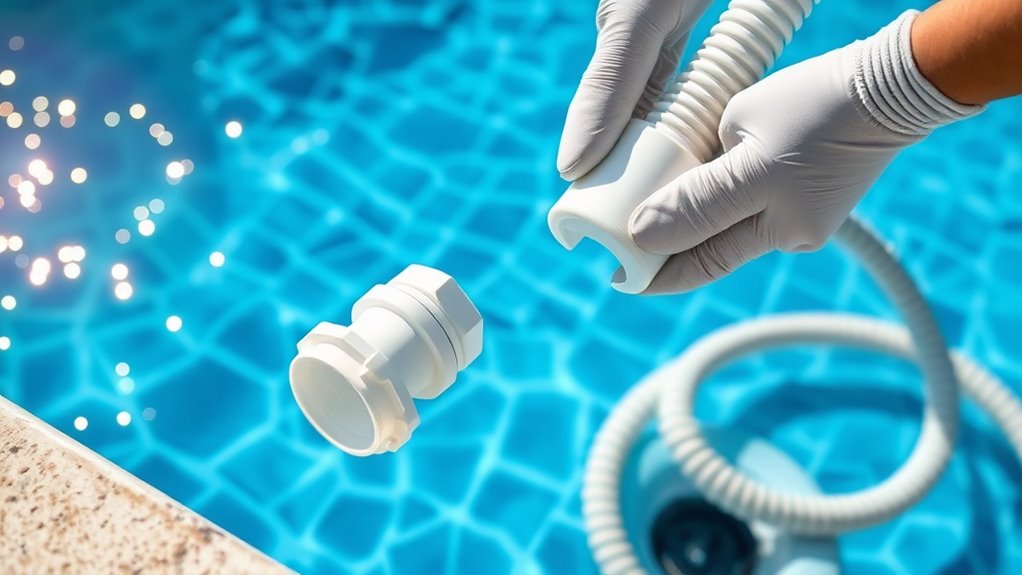
Secure the Cleaner Firmly
Make certain the cleaner stays securely attached by firmly connecting it to the pool’s return line. A secure connection guarantees stable positioning during operation, preventing dislodgment or leaks. To achieve this, double-check the hose fittings and connections, tightening them as needed. Look for any signs of looseness or gaps that could compromise stability. Keep these tips in mind:
- Ensure the connector is fully seated and locked in place
- Use hose clamps or fittings if recommended by the manufacturer
- Test the connection by gently tugging to confirm stability
Prime the System and Check for Leaks
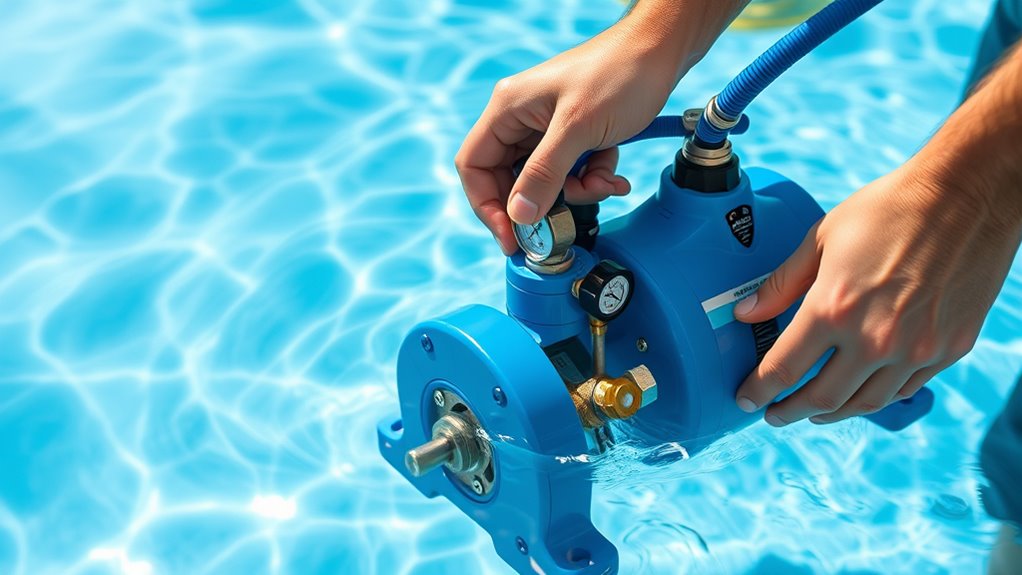
Before operating your pressure-side pool cleaner, it’s vital to prime the system and check for leaks to guarantee peak performance. Proper priming ensures residual pressure builds up, helping the cleaner function smoothly. Leak detection is essential; even small leaks can reduce pressure and impair cleaning. To prime, turn on the pump and observe the hose connections. If pressure seems low, manually prime the hose by squeezing it to push water through. Use the table below to identify common issues:
| Problem | Solution |
|---|---|
| No residual pressure | Re-prime and check hose connections |
| Leaking at connections | Tighten fittings or replace worn clamps |
| Low water flow | Clear obstructions in hoses |
| Sudden pressure drops | Inspect for cracks or leaks |
| Inconsistent cleaning | Ensure proper hose placement |
Test the Cleaner and Adjust as Needed
Once you’ve primed the system and checked for leaks, it’s time to test your pressure-side pool cleaner to guarantee it operates correctly. Turn on the pump and observe the water flow to ensure it’s steady and strong enough to power the cleaner effectively. Watch for smooth movement across the pool floor, indicating proper debris removal. If the cleaner isn’t moving well or debris isn’t being collected, adjustments are needed.
Test your pressure-side cleaner by observing water flow and movement for optimal pool debris removal.
Check these:
- Adjust the hose length or float placement for even water flow.
- Ensure the skimmer and booster pump are functioning properly.
- Clear any blockages in the hose or intake to improve debris removal.
Making these tweaks assures your cleaner works efficiently, keeping your pool spotless with minimal effort.
Frequently Asked Questions
How Often Should I Service or Replace Parts of the Pressure-Side Cleaner?
You should follow a regular maintenance schedule for your pressure-side pool cleaner to keep it running smoothly. Inspect parts like hoses, impellers, and the drive belt weekly, and replace them as needed—usually every 1 to 2 years or sooner if you notice damage or reduced performance. Regular part replacement prevents breakdowns, extends the cleaner’s lifespan, and guarantees it operates efficiently, saving you time and money in the long run.
Can I Use the Cleaner in a Saltwater Pool?
Did you know that saltwater pools make up nearly 20% of all new pools? You can absolutely use your pressure-side cleaner in a saltwater pool, but check for saltwater compatibility first. Salt can corrode parts if not designed for it. Regular cleaner maintenance is essential to prevent damage and guarantee ideal performance. Use compatible parts and rinse the cleaner after each use to extend its lifespan and keep it working smoothly.
What Are Common Troubleshooting Issues During Installation?
When troubleshooting installation issues, you should check for common problems like incorrect hose length, which can affect pool size compatibility. Make certain the cleaner is properly connected to the skimmer or dedicated pressure line. If debris removal isn’t effective, inspect for clogs or leaks in the hose. Also, verify that the cleaner’s pressure is set correctly, as inadequate pressure can hinder performance, especially in larger pools.
How Do I Ensure Optimal Cleaning Coverage?
You might worry about missing spots, but don’t stress—cleaning coverage can be maximized easily. To guarantee ideal cleaning coverage, regularly check the cleaner’s path and adjust its position if needed. Make sure the hoses are free of kinks and the pressure is adequate. Proper coverage optimization leads to a spotless pool, so take a moment to fine-tune your cleaner’s route and enjoy a beautifully clean swimming area.
Is Professional Installation Recommended for Complex Pool Setups?
For complex pool setups, professional installation is highly recommended. A pro can guarantee your pool deck is properly prepared and that water chemistry is balanced for ideal cleaner performance. They’ll handle tricky configurations and ensure the pressure-side cleaner connects correctly, avoiding issues like poor coverage or damage. With expert help, you’ll enjoy a cleaner pool with minimal hassle, saving you time and preventing future problems.
Conclusion
Once you’ve installed your pressure-side pool cleaner correctly, it will keep your pool sparkling with minimal effort. For example, imagine a homeowner who struggled with manual cleaning; after installation, their pool stays pristine effortlessly, saving time and energy. Just remember to regularly check for leaks and adjust the cleaner as needed. With proper setup and maintenance, your cleaner will provide reliable, hands-free cleaning, making pool care simpler and more enjoyable all season long.